Two years ago, Apple launched one of the coolest APIs for introducing Machine learning (ML) experiences inside iOS apps i.e. CoreML. With CoreML you can integrate a trained ML model inside your application and make predictions for users on the basis of that model.
From Apple’s documentation:
“A trained model is the result of applying a machine learning algorithm to a set of training data. The model makes predictions based on new input data. For example, a model that’s been trained on a region’s historical house prices may be able to predict a house’s price when given the number of bedrooms and bathrooms.”
You can get a trained model from many sources:
- Ready-to-use models by Apple.
- Use different converters to convert externally trained models into CoreML Models.
- Use CreateML to train your own models with custom input without much needed knowledge of Machine Learning.
Once you have got your desired trained model, using it inside your app is pretty simple. Drag the .mlmodel file inside project folder in XCode and XCode will automatically generate the required model files for you.
There are tons of excellent tutorials regarding integrating CoreML trained models inside your app, but, recently, while working for some app I encountered a scenario where, instead of using static model, I had to download the model dynamically on the runtime and compile it. At first, I was confused whether CoreML supports it or not but surprisingly, you can call the API yourself to compile the model at runtime instead of letting XCode do it.
In this tutorial, I will explain all the steps from downloading a CoreML Model on the runtime to compiling it on the device and making predictions from that custom model.
It’s time to get started.
Setting Up the Project:
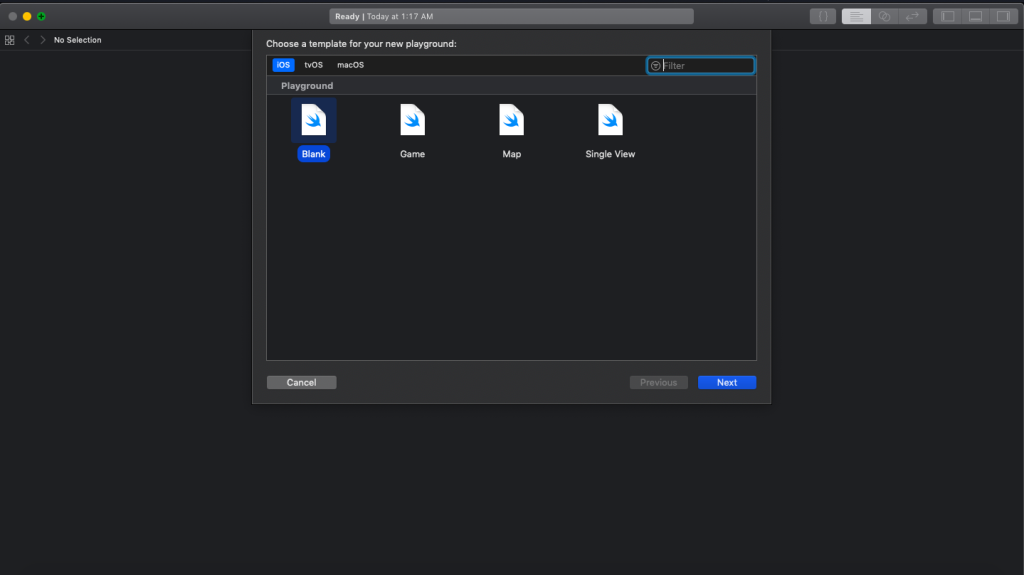
Since this tutorial is all about compiling and using CoreML, I’ll use a playground for this purpose. Start XCode and create a new playground. (File -> New -> Playground). Choose iOS as platform, and create a blank playground.
Downloading Apple’s Ready-to-use model:
Let’s get started with downloading one of the Apple’s Ready to use ML models i.e. Places205-GoogLeNet. It classifies the scenery among 205 different classes e.g. forest, airport etc.
Replace the contents of playground with following:
[cc lang = “swift” ]import UIKit
import CoreML
import PlaygroundSupport
//URL of Apple’s ml model
let fileURL = URL(string: “https://docs-assets.developer.apple.com/coreml/models/GoogLeNetPlaces.mlmodel”)
//Destination url, in our case Playground Shared Data Directory
let documentsDirectory = playgroundSharedDataDirectory.appendingPathComponent(“GoogleNetPlaces.mlmodel”)
let task = URLSession.shared.downloadTask(with: fileURL!) { localURL, urlResponse, error in
if let localURL = localURL {
let fileManager = FileManager.default
do {
if fileManager.fileExists(atPath: documentsDirectory.path) {
print(“Already downloaded”)
}
else {
//Copy from temporary location to custom location.
try fileManager.copyItem(at: localURL, to: documentsDirectory)
print(“downloaded”)
}
}
catch {
print(“Error in copying to playground’s documents directory \(error)”)
}
}
else {
print(“Unable to download. \(error?.localizedDescription)”)
}
}
task.resume() [/cc]
Here we downloaded a CoreML model file from Apple’s remote URL in a temporary location and then copied to custom location.
Run this code, and you will have GoogleNetPlaces.mlmodel downloaded into your shared playground data directory. Downloading may take few minutes to complete and that’s why, in an actual application, you should never do such a heavy task on main thread.
Compiling Model and Adding Custom Input Class:
Let’s do some CoreML stuff now. Create a new file in playground sources folder. Right Click on Sources Folder -> New File. Name it as MLModelHandler.swift.
Add following code inside the file.
[cc lang = “swift” ]import Foundation
import CoreML
import UIKit
public class MLModelHandler {
public init() {
print(“Initialized”)
}
public func compileModel(path: URL) -> URL? {
guard let compiledURL = try? MLModel.compileModel(at: path) else {
print(“Error in compiling model.”)
return nil
}
return compiledURL
}
}[/cc]
Notice how class and functions are declared public inside sources folder. It’s because Sources files are compiled beforehand, and included as a separate module by compiler.
Now go back to the main playground, create an object of MLModelHandler and call this method at the bottom of do block.
[cc lang = “swift” ]let handler = MLModelHandler()
//URL of Apple’s ml model
let fileURL = URL(string: “https://docs-assets.developer.apple.com/coreml/models/GoogLeNetPlaces.mlmodel”)
//Destination url, in our case Playground Shared Data Directory
let documentsDirectory = playgroundSharedDataDirectory.appendingPathComponent(“GoogleNetPlaces.mlmodel”)
let task = URLSession.shared.downloadTask(with: fileURL!) { localURL, urlResponse, error in
if let localURL = localURL {
let fileManager = FileManager.default
do {
if fileManager.fileExists(atPath: documentsDirectory.path) {
print(“Already downloaded”)
}
else {
//Copy from temporary location to custom location.
try fileManager.copyItem(at: localURL, to: documentsDirectory)
print(“downloaded”)
}
handler.compileModel(path: documentsDirectory)
}
catch {
print(“Error in copying to playground’s documents directory \(error)”)
}
}
else {
print(“Unable to download. \(error?.localizedDescription)”)
}
}
task.resume()[/cc]
Run the playground, and you will have compiled .mlmodelc file available at the location, compiledURL. Yes, it is as easy as it looks like. But unfortunately, we can’t use Model classes which are automatically generated by compiler in case of XCode compilation.
Generally you would use something like to make predictions from the model.
[cc lang = “swift” ] let model = MyModelClass()
guard let output = try? model.prediction(input1: myInput1, input2: myInput2, input3: myInput1) else {
print(“Error in prediction”)
} [/cc]
Where model class and helping prediction function is generated by XCode itself. For predicting with runtime compilation, you will need to call CoreML API yourself.
First of all let’s take a quick look at the model.
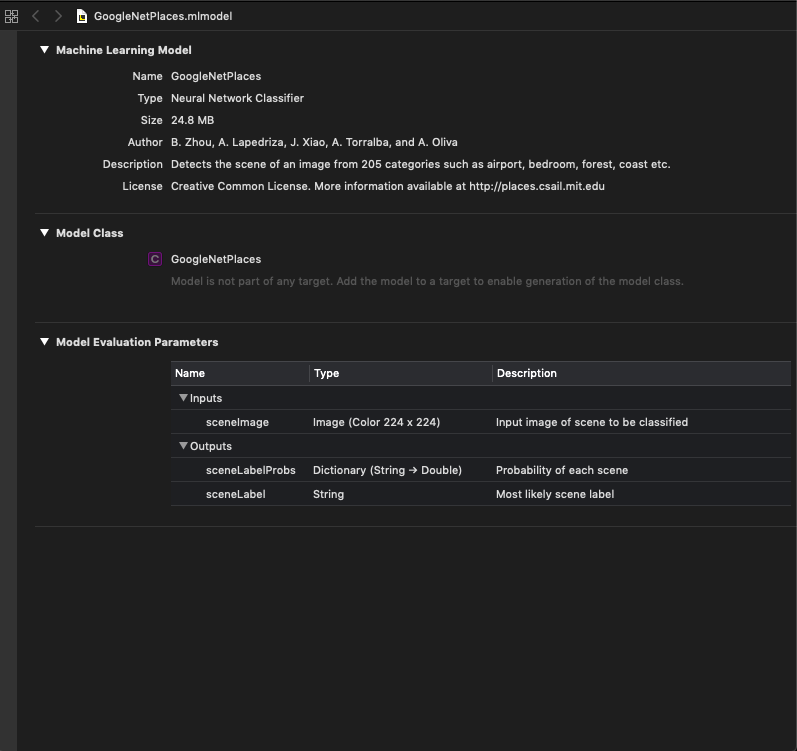
Model Evaluation Parameters tell us that it has one input parameter i.e. sceneImage and two output variables, sceneLabel (which gives the predicted value of input image) and sceneLabelProbs which is a dictionary showing probability value of each scene for input image.
Since we don’t have model classes to make prediction, we first need to define a custom input class for our model implementing MLFeatureProvider.
Create a new file in Sources named GoogleNetPlacesInput.swift and replace its contents with following.
[cc lang = “swift” ]import Foundation
import CoreML
public class GoogleNetPlacesInput : MLFeatureProvider {
// Input image in the format of CVPixelBuffer
public var sceneImage: CVPixelBuffer
// Input feature name
public var featureNames: Set {
get {
return [“sceneImage”]
}
}
// Value for a certain input feature.
public func featureValue(for featureName: String) -> MLFeatureValue? {
if (featureName == “sceneImage”) {
return MLFeatureValue(pixelBuffer: sceneImage)
}
return nil
}
public init(sceneImage: CVPixelBuffer) {
self.sceneImage = sceneImage
}
} [/cc]
CoreML inputs take CVPixelBuffer as input to be converted into MLFeatureValue. We also defined the input feature in our Input class i.e. sceneImage in our case.
In actual, XCode also generates the similar classes for trained models.
Now add this helper function at the top of MLModelHandler.swift in Sources Folder (outside class definition) to convert a UIImage to CVPixelBuffer.
[cc lang = “swift” ] public func buffer(from image: UIImage) -> CVPixelBuffer? {
let attrs = [kCVPixelBufferCGImageCompatibilityKey: kCFBooleanTrue, kCVPixelBufferCGBitmapContextCompatibilityKey: kCFBooleanTrue] as CFDictionary
var pixelBuffer : CVPixelBuffer?
let status = CVPixelBufferCreate(kCFAllocatorDefault, Int(image.size.width), Int(image.size.height), kCVPixelFormatType_32ARGB, attrs, &pixelBuffer)
guard (status == kCVReturnSuccess) else {
return nil
}
CVPixelBufferLockBaseAddress(pixelBuffer!, CVPixelBufferLockFlags(rawValue: 0))
let pixelData = CVPixelBufferGetBaseAddress(pixelBuffer!)
let rgbColorSpace = CGColorSpaceCreateDeviceRGB()
let context = CGContext(data: pixelData, width: Int(image.size.width), height: Int(image.size.height), bitsPerComponent: 8, bytesPerRow: CVPixelBufferGetBytesPerRow(pixelBuffer!), space: rgbColorSpace, bitmapInfo: CGImageAlphaInfo.noneSkipFirst.rawValue)
context?.translateBy(x: 0, y: image.size.height)
context?.scaleBy(x: 1.0, y: -1.0)
UIGraphicsPushContext(context!)
image.draw(in: CGRect(x: 0, y: 0, width: image.size.width, height: image.size.height))
UIGraphicsPopContext()
CVPixelBufferUnlockBaseAddress(pixelBuffer!, CVPixelBufferLockFlags(rawValue: 0))
return pixelBuffer
} [/cc]
Making Predictions from compiled model:
Now it’s time to test the model. Add this function inside MLModelHandler class.
[cc lang = “swift” ] public func compileModelAndPredict(path: URL, image: UIImage) {
let compiledURL = compileModel(path: path)
if let compiledURL = compiledURL {
// 1
guard let model = try? MLModel(contentsOf: compiledURL) else {
print(“Error in getting model”)
return
}
UIGraphicsBeginImageContextWithOptions(CGSize(width: 224, height: 224), true, 2.0)
image.draw(in: CGRect(x: 0, y: 0, width: 224, height: 224))
let newImage = UIGraphicsGetImageFromCurrentImageContext()!
UIGraphicsEndImageContext()
// 2
let imageBuffer = buffer(from: newImage)
do {
// 3
let result = try model.prediction(from: GoogleNetPlacesInput(sceneImage: imageBuffer!))
// 4
let label = result.featureValue(for: “sceneLabel”)?.stringValue
print(label)
} catch {
print(error)
}
}
} [/cc]
// 1
We get the MLModel from our dynamically compiled model file.
// 2
We get the CVPixelBuffer from the image using our helper method.
// 3
Call model’s prediction method using our custom Input class i.e. GoogleNetPlacesInput passing imageBuffer object as parameter.
// 4
Get the predicted value from model result output variables i.e. ‘sceneLabel’. And yay, our CoreML model has predicted the image scene.
Now go back to the main playground page and instead of calling handler’s compileModel, call compileModelAndPredict with any random image of your choice. (Add the image in the resources folder to be accessible).
[cc lang = “swift” ] do {
if fileManager.fileExists(atPath: documentsDirectory.path) {
print(“Already downloaded”)
}
else {
//Copy from temporary location to custom location.
try fileManager.copyItem(at: localURL, to: documentsDirectory)
print(“downloaded”)
}
let image = UIImage(named: “forest.jpg”)
handler.compileModelAndPredict(path: documentsDirectory, image: image!)
} [/cc]
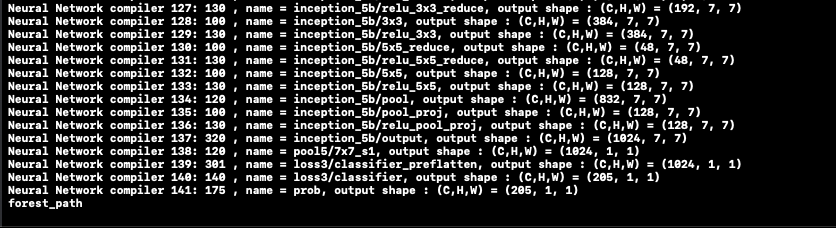
Run the playground, and Yayyy, our scene is detected as forest_path.
Full Project can be found here:
You can give any suggestions / feedbacks in comments below, or reach out to us at @the_swift_girl
Comments are closed.